






Why Brush Replacement Matters
Floor scrubbers are only as effective as their brushes. Worn, frayed, or clogged bristles leave streaks, miss dirt, and can even damage certain floor surfaces over time. Knowing how to replace floor scrubber brushes is a simple maintenance skill that saves you money on professional service calls and keeps your floors looking professional.
Most brushes need replacement every 200 to 500 hours of use, depending on floor type and cleaning frequency. If you notice uneven cleaning, excessive vibration, or visible bristle wear, it is time for a change.
Safety First: Preparing Your Machine
Before starting, always disconnect the scrubber from its power source. For battery-powered units, remove the key or disconnect the battery pack. For corded models, unplug the machine entirely.
You will need:
- Replacement brush or pad driver
- Work gloves
- A clean cloth
- The machine’s user manual for reference
Set the scrubber on a flat, dry surface with enough room to access the brush deck underneath.
Step-by-Step Guide: How to Replace Floor Scrubber Brushes
1. Identify Your Brush Type
Floor scrubbers generally use one of three brush mounting systems:
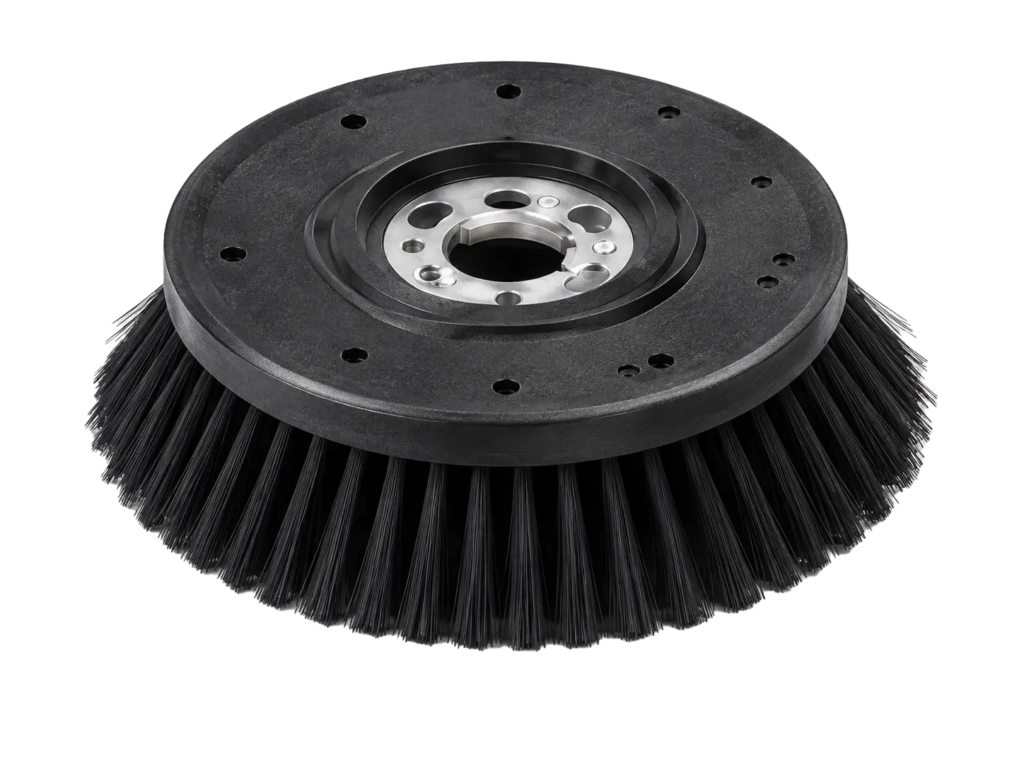
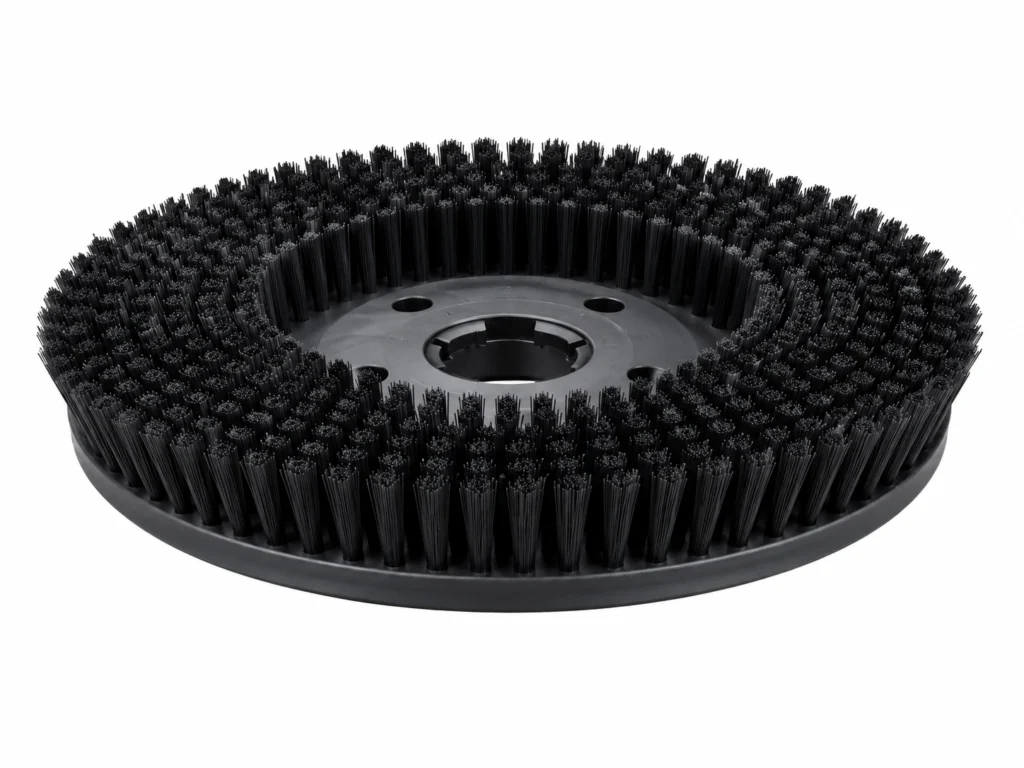
- Disc brushes – round brushes that twist or snap onto a motor hub.
- Cylindrical brushes – tube-shaped brushes that slide onto a roller shaft.
- Pad drivers – flat discs that hold disposable cleaning pads.
Check your machine’s manual to confirm which type you have before purchasing replacements.
2. Access the Brush Deck
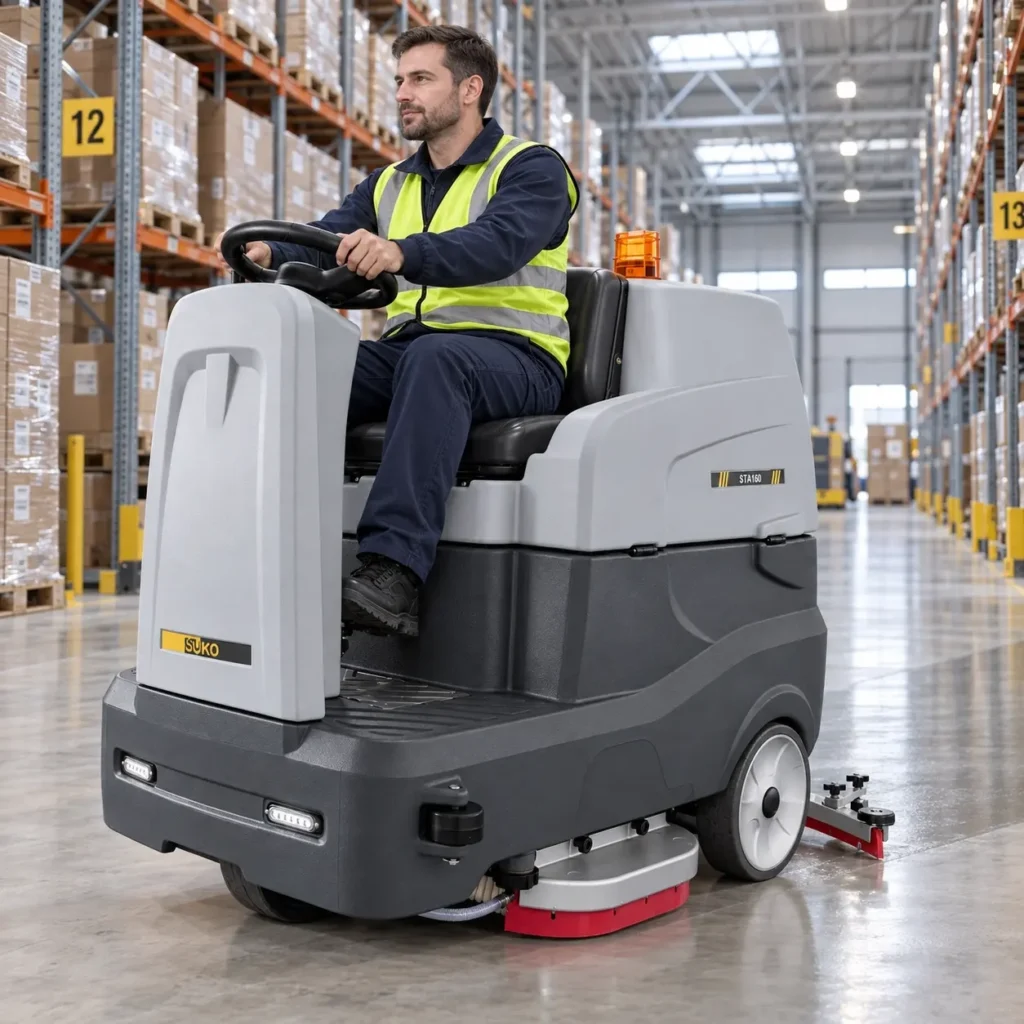
Raise the scrub head to its highest position. If your machine has a squeegee assembly, lift it as well to create clearance. On most walk-behind and ride-on scrubbers, you can access the brushes by tilting the machine backward or removing the brush deck cover.
3. Remove the Old Brush
For disc brushes:
- Locate the brush hub under the scrub deck.
- Grip the brush firmly with both hands.
- Twist counterclockwise until it releases from the hub.
- Pull the brush downward and away from the machine.
For cylindrical brushes:
- Open the brush chamber door or side panel.
- Slide the brush off the drive shaft.
- If the brush has an idler hub on the opposite end, lift it free as well.
4. Inspect the Brush Hub and Shaft
Before installing the new brush, wipe away any debris, hair, or chemical buildup from the hub and surrounding area. Check for cracks, stripped threads, or damage. Installing a new brush on a damaged hub will cause premature wear and poor cleaning results.
5. Install the New Brush
For disc brushes:
- Align the brush collar with the motor hub.
- Push the brush upward until it seats fully.
- Twist clockwise until it locks into place.
- Tug gently to confirm it is secure.
For cylindrical brushes:
- Insert the drive end of the brush onto the motor shaft.
- Push until the brush cannot slide further.
- Secure the idler hub on the opposite end if applicable.
- Close and latch the brush chamber door.
After Installation: Test and Adjust
Lower the scrub head to its normal operating position. Run the machine for a few seconds in a small area and check for:
- Unusual noise – grinding or rattling may indicate an improperly seated brush.
- Vibration – excessive shaking means the brush is not balanced or fully locked.
- Cleaning pattern – the new brush should leave a uniform, streak-free path.
If anything feels off, stop the machine, disconnect power, and recheck the installation.
Maintenance Tips to Extend Brush Life
Replace brushes less frequently by following these simple habits:
- Rinse brushes with clean water after each use to remove chemical residue and grit.
- Rotate disc brushes weekly to promote even bristle wear.
- Store scrubbers with the brush deck raised so bristles do not flatten under the machine’s weight.
- Never use a brush designed for one floor type on another surface, such as a concrete brush on vinyl tile.
How Often Should You Replace Brushes?
Use this general guideline:
| Floor Type | Brush Type | Replacement Interval |
|---|---|---|
| Smooth concrete | Polypropylene disc | 300–500 hours |
| Textured concrete | Nylon or grit disc | 200–300 hours |
| Vinyl or tile | Soft nylon disc | 250–400 hours |
| All surfaces | Cylindrical brush | 300–600 hours |
Monitor your machine’s performance and adjust these numbers based on actual results. A brush that looks okay but leaves hazy floors needs replacement sooner rather than later.
Final Thoughts
Learning how to replace floor scrubber brushes takes less than 15 minutes once you understand the process. Regular replacement keeps your machine running efficiently, protects floor surfaces, and produces the clean, polished results your facility expects.
Keep a spare set of brushes on hand so you can swap them out immediately when wear appears. Your floors and your maintenance budget will thank you.