

Floor Scrubber Not Picking Up Water? Here’s 5 Points How to Fix It Fast
Release time: 2026-04-14
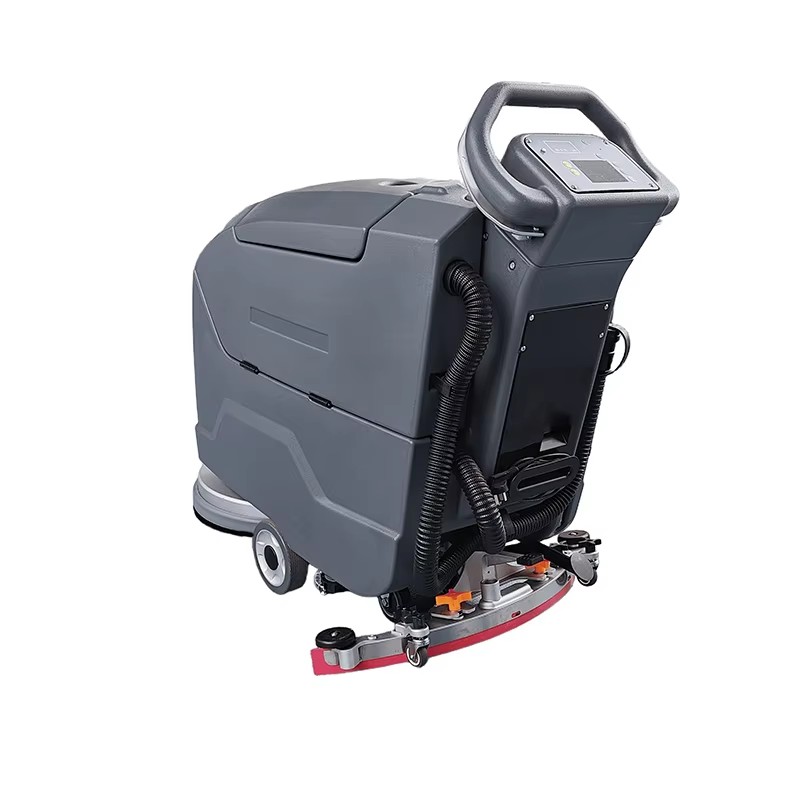
There’s nothing more frustrating than finishing a floor cleaning session only to find puddles, streaks, or standing water left behind—especially when you invested in a floor scrubber to save time and ensure a spotless, dry surface. If your floor scrubber not picking up water, you’re not alone. This is one of the most common issues with automatic and walk-behind floor scrubbers, affecting both residential and commercial models alike. The good news? In 90% of cases, the problem is easy to diagnose and fix with basic inspections and simple maintenance—no professional repair skills required. Let’s break down the most likely causes, step-by-step troubleshooting tips, and preventive measures to keep your floor scrubber working efficiently.
Why Is Your Floor Scrubber Not Picking Up Water? Common Causes
Before diving into fixes, it’s critical to understand the root cause of the problem. A floor scrubber’s water pickup system relies on three key components: a functional vacuum motor, unobstructed suction paths, and a properly working squeegee assembly. When any of these components fail, water recovery suffers. Below are the most frequent reasons your floor scrubber isn’t picking up water:
1. Full or Clogged Recovery Tank
The recovery tank (where dirty water is stored after suction) is the first place to check. If the tank is full, there’s no space for additional water to be collected—this is the simplest and most common cause of poor water pickup. Even if the tank isn’t completely full, sludge, debris, or sediment buildup at the bottom can block the suction inlet, reducing the machine’s ability to draw in water. Additionally, a stuck float valve in the recovery tank (designed to prevent overflow) can cut off suction prematurely, making it seem like the tank is full when it’s not.
2. Worn, Damaged, or Misaligned Squeegee Blades
Squeegee blades are the unsung heroes of water pickup—they gather dirty water into the vacuum hose, ensuring it’s sucked into the recovery tank. If your blades are worn, torn, warped, or coated in debris, they won’t make full, even contact with the floor, leaving water behind. Misalignment is another common issue: if the squeegee assembly is tilted or bumped out of place, it creates a gap between the blades and the floor, allowing water to slip through untouched. For uneven or textured floors, worn squeegee blades lose their seal even faster, exacerbating the problem.
3. Blocked Vacuum Hose or Filter
The vacuum hose and filters are critical for maintaining strong suction. Debris like hair, dirt, small objects, or even cleaning solution residue can clog the hose, blocking the flow of water from the squeegee to the recovery tank. Even a small puncture or crack in the hose can cause suction loss, as air leaks disrupt the vacuum seal needed to pick up water efficiently. Similarly, dirty or clogged filters (both solution and vacuum filters) restrict airflow, reducing the machine’s suction power by up to 80% in some cases.
4. Vacuum Motor Issues
If the vacuum motor isn’t working properly, your floor scrubber won’t have the suction needed to pick up water. Common motor problems include: a motor that’s not turned on (check the control panel!), a tripped circuit breaker or blown fuse, low battery power (for battery-operated models), or internal motor wear-and-tear from overuse or poor maintenance. A weak motor will produce less suction, resulting in incomplete water pickup, while a non-functional motor will leave floors soaked.
5. Poor Seal on the Recovery Tank Lid
A tight seal on the recovery tank lid is essential for maintaining suction. If the lid is loose, cracked, or the gasket (rubber seal) is dirty or worn, air will leak into the tank, reducing the vacuum’s effectiveness. Even a small gap can disrupt the suction force, making it impossible for the machine to pick up water properly.
Step-by-Step Troubleshooting: Fix Your Floor Scrubber Not Picking Up Water
Now that you know the common causes, let’s walk through a simple, step-by-step process to diagnose and fix the issue. Start with the easiest checks first—you’ll likely resolve the problem without needing to call a professional.
Step 1: Check the Recovery Tank
- Turn off the floor scrubber and unplug it (or disconnect the battery) for safety.
- Remove the recovery tank and empty any dirty water. Even if it’s not full, emptying it completely can resolve suction issues caused by sediment buildup.
- Rinse the tank thoroughly with clean water to remove sludge, debris, or cleaning solution residue. Wipe the inside with a cloth to ensure no buildup remains.
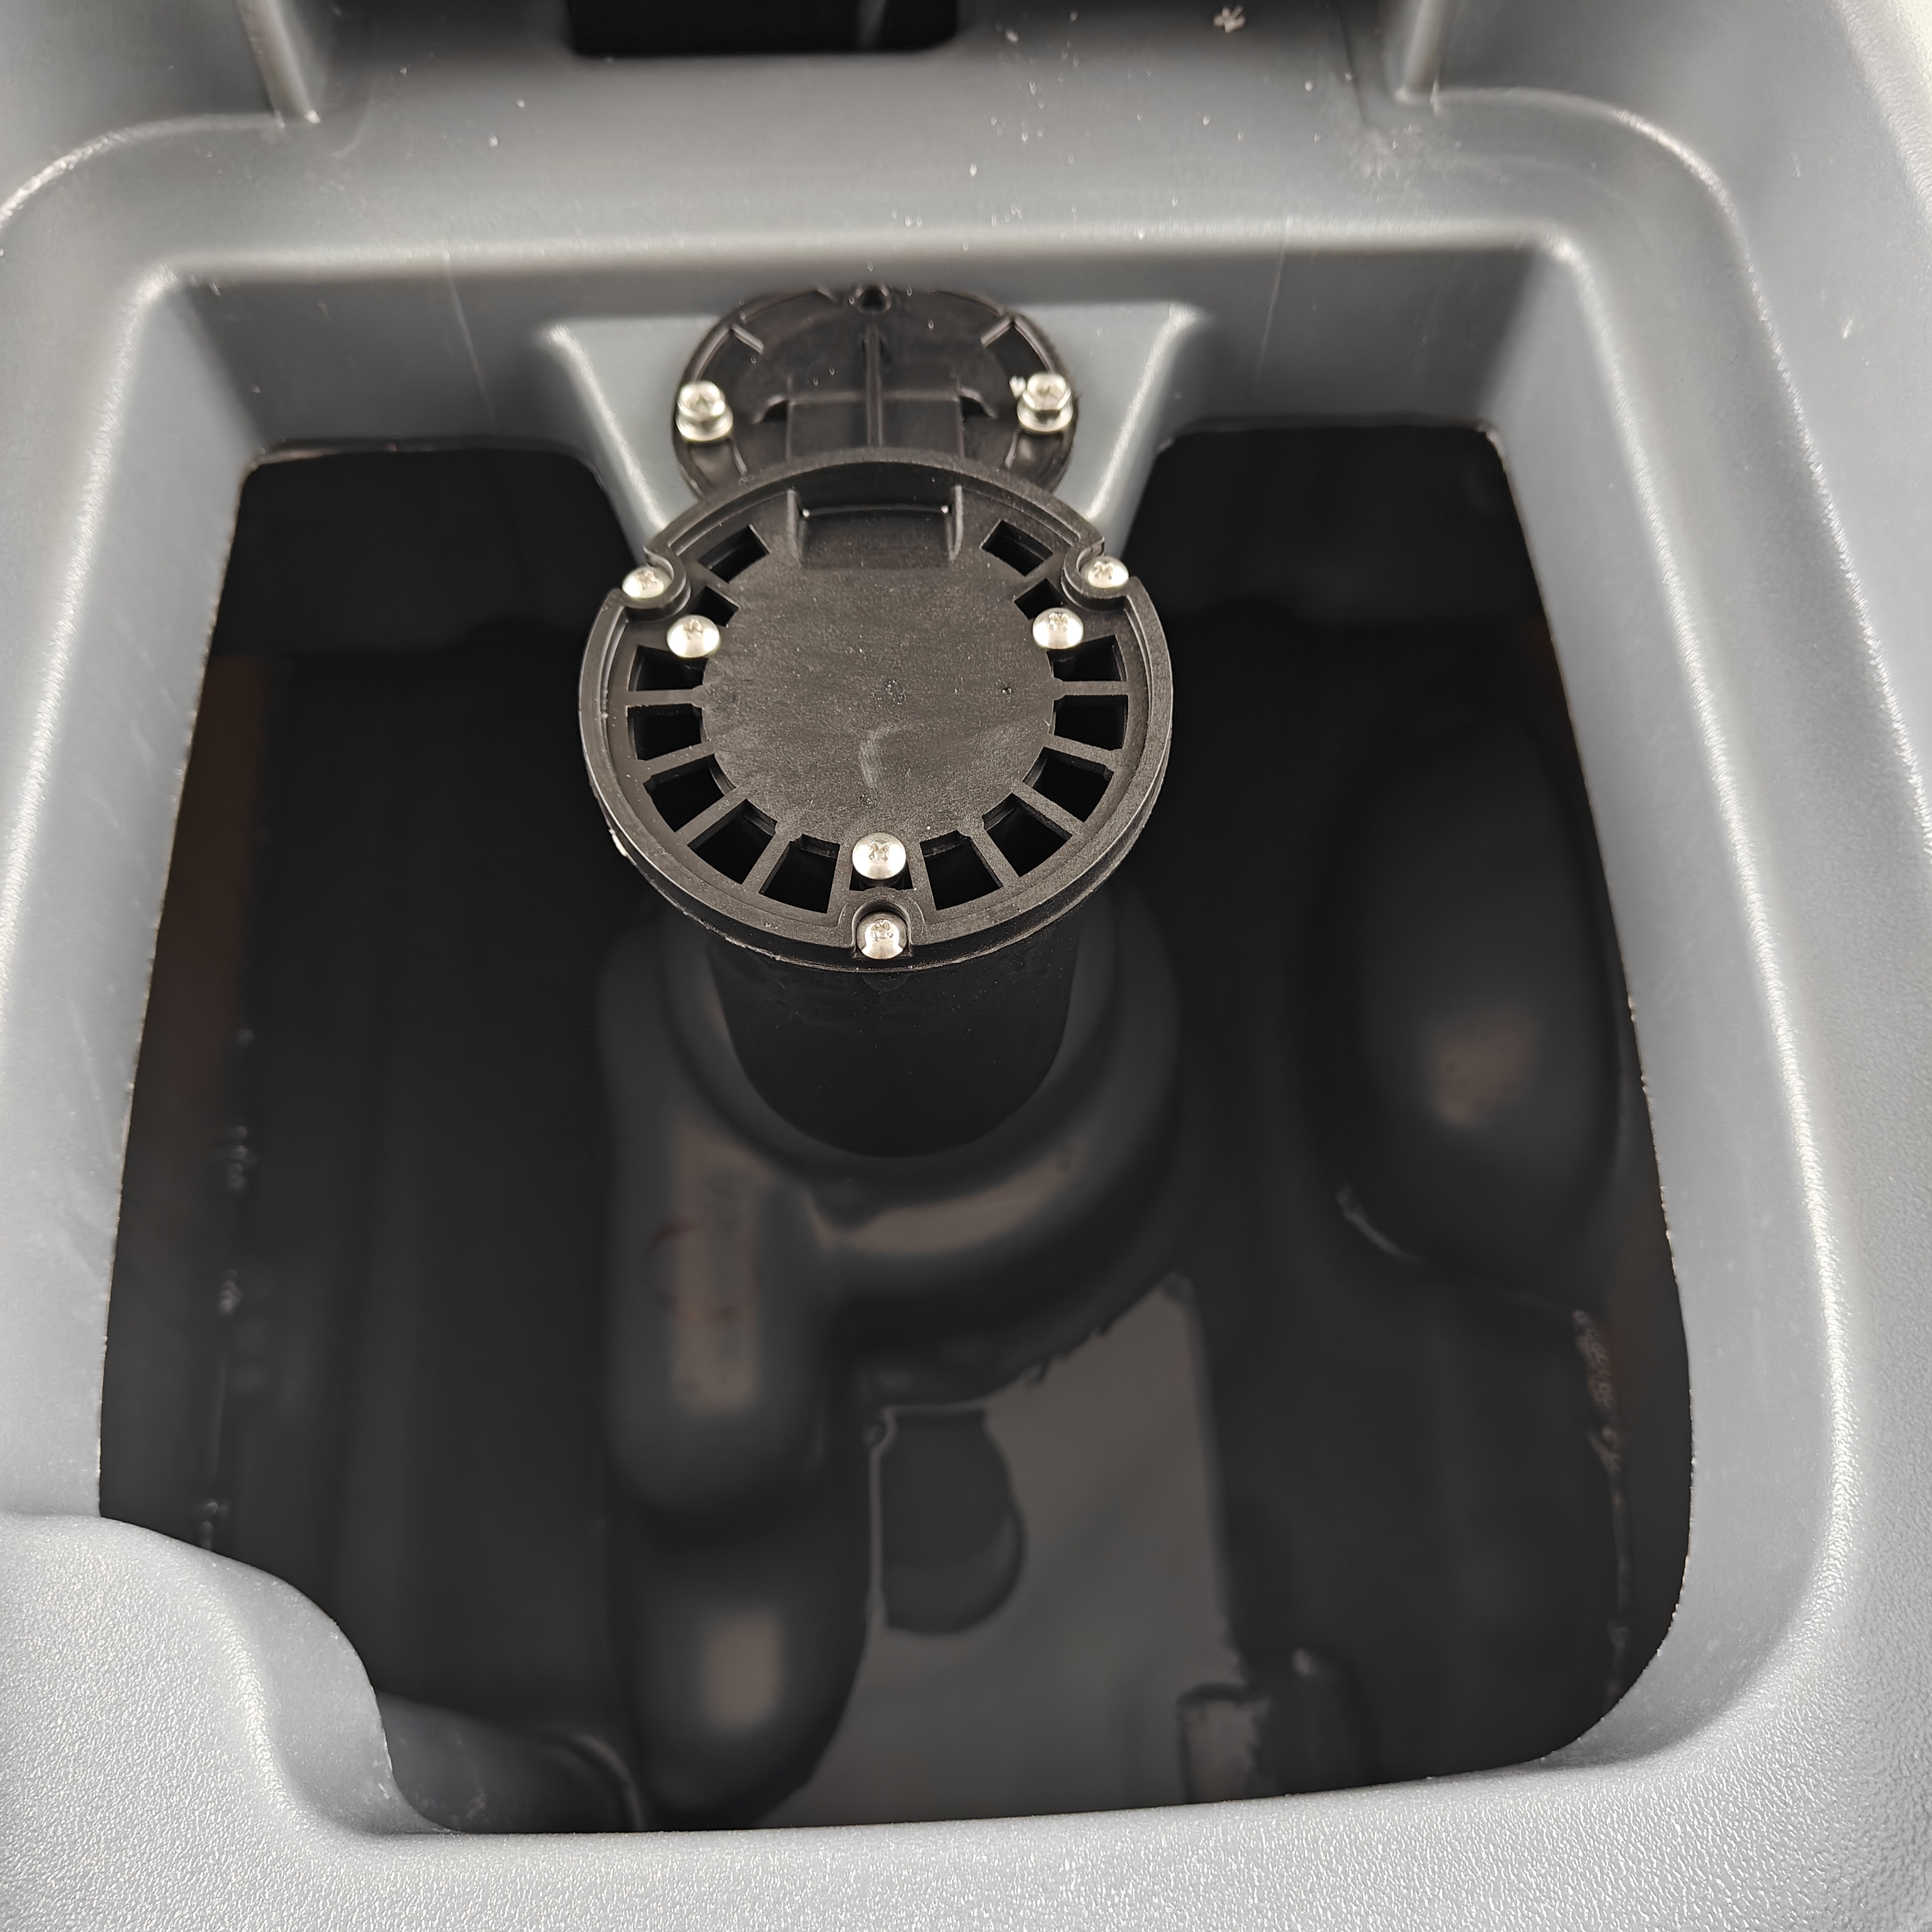
- Check the float valve (if your model has one) to ensure it’s not stuck. Gently move it up and down to confirm it moves freely—this prevents overflow and ensures proper suction.
- Reattach the recovery tank securely, making sure the lid is sealed tightly.
Step 2: Inspect and Clean the Squeegee Assembly
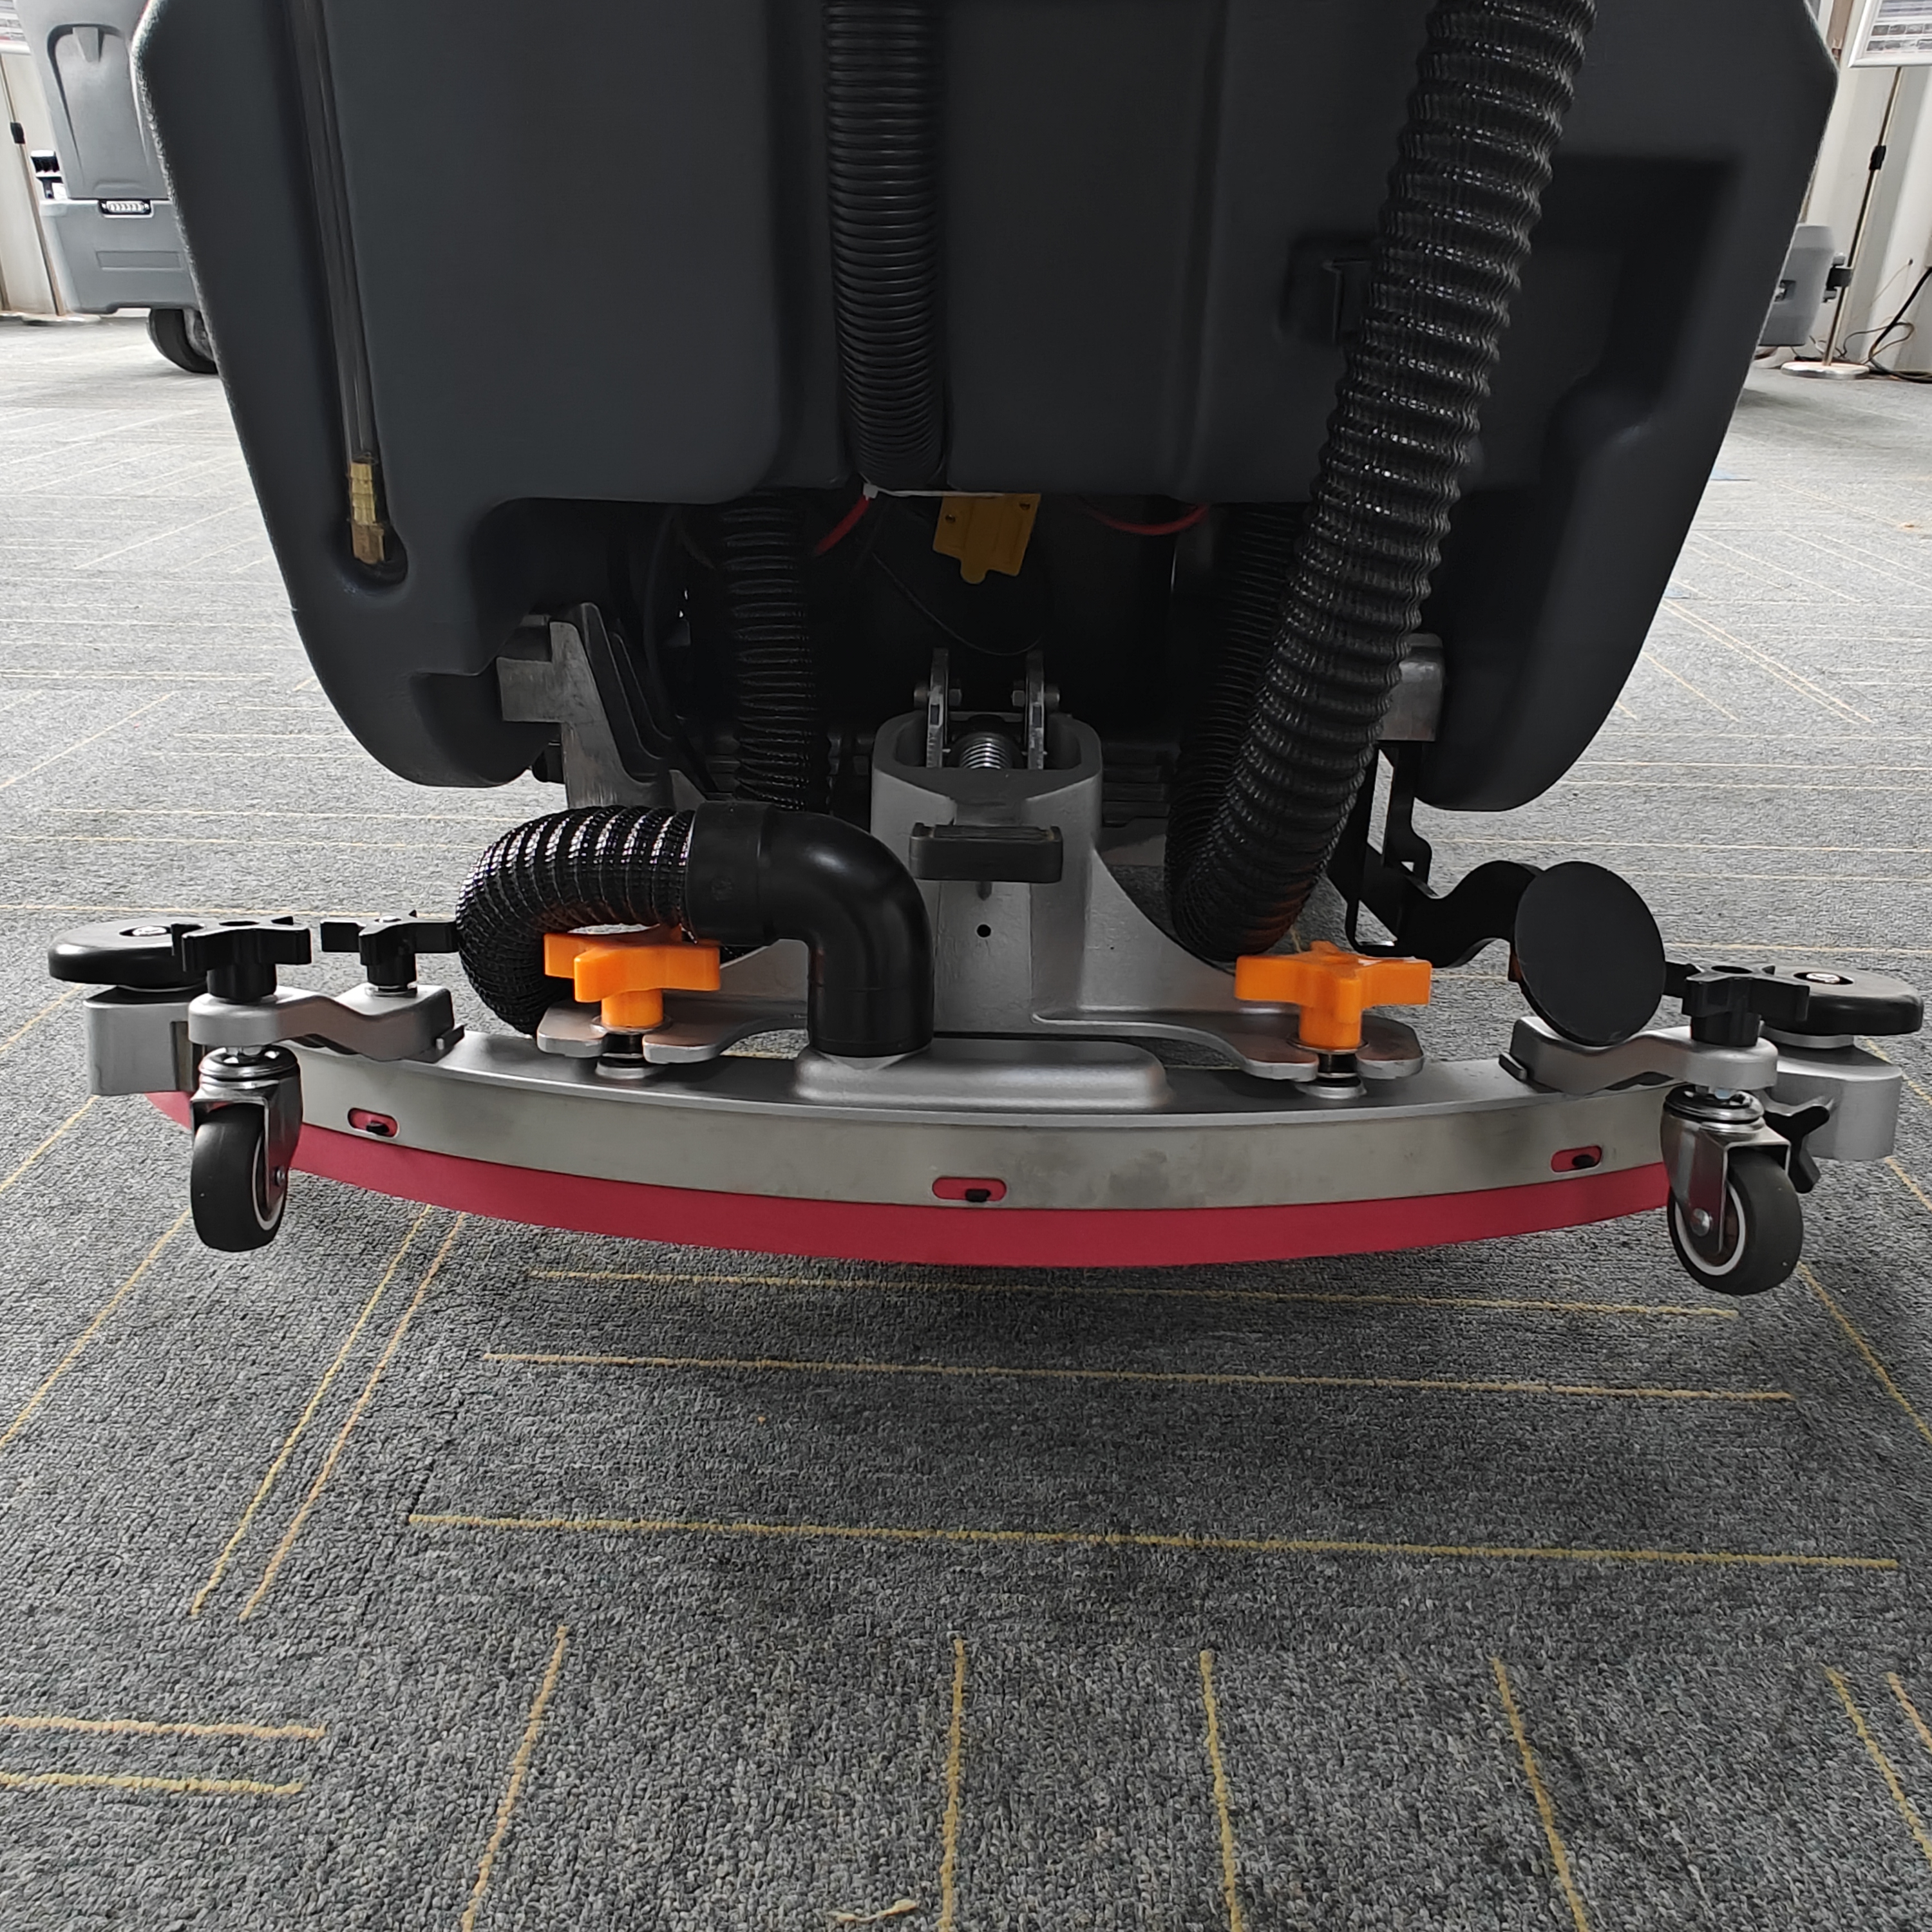
- Locate the squeegee blades (usually at the bottom rear of the machine) and inspect them for wear, tears, warping, or debris buildup.
- If the blades are dirty, remove them and rinse thoroughly with water to remove hair, dirt, or residue. Wipe them dry before reinstalling.
- If the blades are worn or torn, rotate them (if reversible) or replace them. Most squeegee blades need replacement every 100–200 hours of use.
- Check the squeegee assembly for misalignment. Adjust it according to the manufacturer’s instructions to ensure the blades make even contact with the floor—no gaps allowed!
Step 3: Clear Blockages in Hoses and Filters
- Disconnect the vacuum hose from both the squeegee assembly and the recovery tank. Inspect the hose for clogs, cracks, or punctures. Use a broom handle or long tool to clear any debris stuck inside (be gentle to avoid damaging the hose).
- Check all filters (solution filter, vacuum filter) and remove them. Clean them with water or replace them if they’re heavily soiled or damaged. For best results, clean filters weekly and replace them every 3–6 months, depending on use.
- Reattach the hose and filters securely, ensuring no connections are loose (loose connections cause air leaks and suction loss).
Step 4: Test the Vacuum Motor
- Turn on the floor scrubber and activate the suction function. Listen for the vacuum motor—you should hear a steady, powerful hum.
- If the motor is silent, check the control panel to ensure the suction is turned on. If it’s on but the motor isn’t running, check the circuit breaker or fuses (for electric models) or the battery charge (for battery-operated models).
- For battery-powered scrubbers, ensure the battery is fully charged. Low battery voltage weakens the motor, reducing suction power. If the battery is old or won’t hold a charge, it may need to be replaced.
Step 5: Check the Recovery Tank Lid Seal
- Inspect the rubber gasket (seal) on the recovery tank lid for dirt, wear, or damage. Clean it with a damp cloth to remove debris that might be preventing a tight seal.
- If the gasket is worn or cracked, replace it—this is a cheap and easy fix that often resolves suction issues.
- Reattach the lid and press down firmly to ensure it’s sealed tightly. A loose lid is a common culprit of poor water pickup!
When to Call a Professional
If you’ve gone through all the troubleshooting steps and your floor scrubber still isn’t picking up water, it may be time to call a professional technician. Common issues that require professional help include: a faulty vacuum motor (needs repair or replacement), internal hose damage that can’t be fixed with cleaning, or a broken pump or electrical component. Professional service is also recommended if your scrubber is still under warranty—attempting to fix complex issues yourself may void the warranty.
Preventive Maintenance to Avoid Floor Scrubber Not Picking Up Water?
The best way to avoid the “floor scrubber not picking up water” problem is to follow a regular maintenance routine. Proper care not only prevents breakdowns but also extends the lifespan of your floor scrubber—commercial-grade models can last 5–7 years, and industrial-grade models up to 10 years, with proper maintenance. Here’s a quick maintenance checklist:
- Daily Maintenance: Empty and rinse the recovery tank after each use; clean the squeegee blades and remove debris; rinse the solution tank to prevent residue buildup; check battery charge (for battery-operated models).
- Weekly Maintenance: Clean or replace filters; inspect the vacuum hose for cracks or blockages; check the squeegee blades for wear; clean the recovery tank lid gasket.
- Monthly Maintenance: Lubricate moving parts; inspect cables and connectors; check the vacuum motor for signs of wear; deep clean all components.
- Quarterly Maintenance: Replace worn parts (squeegee blades, brushes, filters); have a professional inspect the motor and electrical system; deep clean the entire machine.
Final Thoughts
A floor scrubber not picking up water is inconvenient but rarely a major problem. Following the troubleshooting steps—from simple checks (emptying the recovery tank, cleaning squeegee blades) to more complex ones (motor testing, hose repairs)—will likely fix it quickly. Regular maintenance is key to smooth operation and avoiding future issues, ensuring your scrubber delivers spotless, dry floors long-term.
If you still struggle with your floor scrubber not picking up water, contact the manufacturer’s support or a local technician for help. Happy cleaning!